Basic Infrared Photo Editing with Lightroom & Photoshop

ฝัง
- เผยแพร่เมื่อ 20 ต.ค. 2024
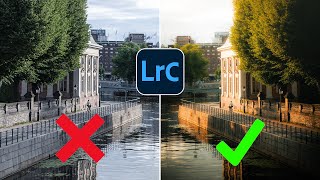
- In this video I'm going through the basics of editing of a few infrared landscape images (shot with a modified camera) using Adobe #Lightroom and Adobe #Photoshop for the Editing and the Adobe DNG Profile Editor to create a custom camera profile.
If you'd like to support me, Patreon: / phlog
Instagram: / thephlog
Facebook: / phlog
A few years ago, I got myself a camera capable of creating infrared images using certain filters in front of the camera sensor. Due to recent events I had a bit of time to take a look at some older images and edit them trying different methods. My goal here was to create that classic infrared look with a nicely saturated blue sky and a mild pink tone in the grass and foliage of the tree.
1. Creating a custom camera profile
The raw infrared images come with a strong red colour cast which needs to be fixed by setting the proper white balance settings. Sadly, with the camera profiles coming with Lightroom/Photoshop this can’t be done correctly since the temperature is limited so I had to first create a custom camera profile using Adobes DNF profile editor (you can find it for free here: helpx.adobe.co... ). With the custom profile created I can go drop the white balance temperature more than usual which fixes the red colour cast.
2. Basic Adjustments
First, I chose the camera profile I just created. To set the right white balance I used the eyedropper and picked a colour from a bright spot in a cloud (the colours still aren’t right, but that will be fixed later). Then, I adjusted exposure, highlights, blacks and whites to spread the histogram as far as possible without over- or underexposing anything since this gives the best results in my opinion. For some extra contrast I added clarity.
3. Fixing colours
To fix the colours I created a channel mixer adjustment layer. Here I dropped the reds to 0% and increased the blues to 100% in the red output channel and did the opposite in the blue output channel. Now you can already see the classical infrared look. I further adjusted the colours by boosting the saturation and hue of specific tones using a hue / saturation adjustment layer.


![⭐ฮิตในTikTok!! ( มะมะมะหมูเด้ง MooDeng ) Ver. แดนซ์ ReMix BY [ ดีเจกิต รีมิกซ์ ]](http://i.ytimg.com/vi/4noyAoMa7bQ/mqdefault.jpg)
